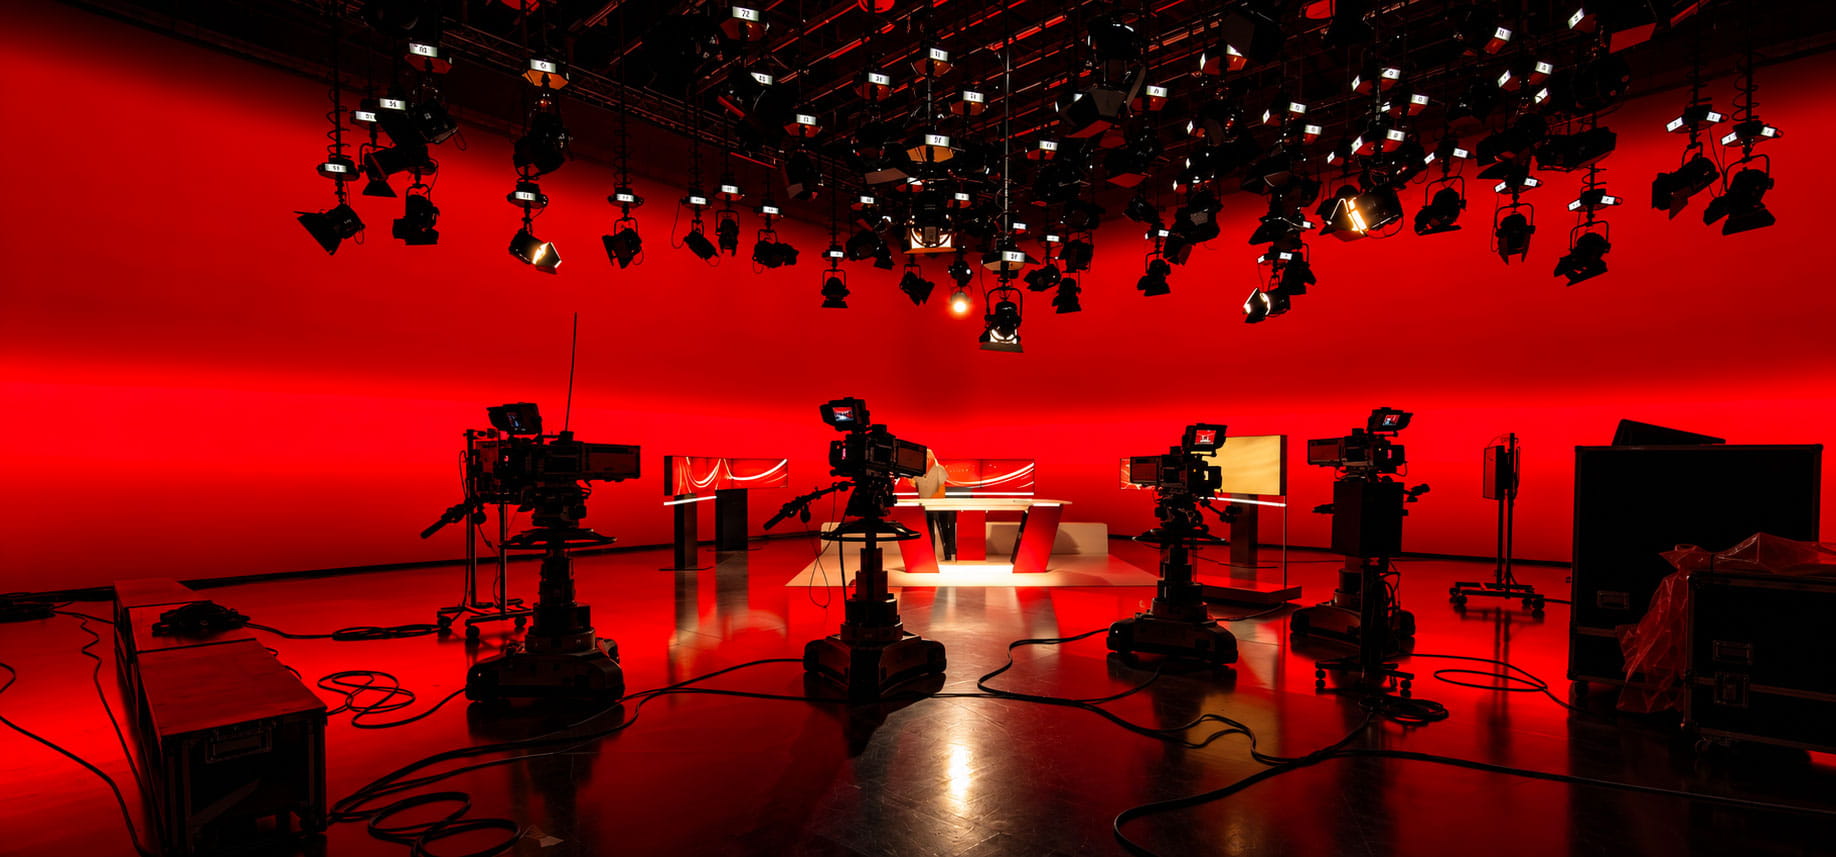

Few production tools shape a television broadcast as deeply as set lighting. As covered in our Complete Guide to TV Studio Lighting, lighting sets the mood, directs attention, and lets the audience see exactly what the director intends. More specifically, it controls the quality, color temperature, and intensity of the broadcast image, making lighting one of the most powerful elements of any television production.
More Than Just Bulbs
The lighting used on a studio set is not necessarily brighter than the lights in your home, but the quality is worlds apart. Quartz lamps, Fresnel lenses, and LED fixtures are the tools most commonly used to light a TV studio set or on-location shoots.
Quartz lamps have long been a staple of the industry, producing intense light output. They also generate significant heat and draw a lot of power. This is why LED fixtures have become increasingly common in studio lighting: they do essentially the same job as quartz lamps, without the heat output or the energy draw.
Choosing a Lighting Technology
Before deciding on the right type of fixture, whether for TV studio work or theatrical lighting, the first question is which technology to build around.
Traditionalists, older equipment, and outdated guides still reference discharge lamps, tungsten, plasma, and quartz sources. These were all valid solutions in their time, but compared to what is available today, they tend to be:
- Costly to run
- Limited in operating life
- Power-hungry
- Prone to overheating
LEDs in Television Lighting
Regardless of fixture type or intended use, LED (light-emitting diode) sources have become the leading choice in television lighting today.
LED Advantages
- Produce more light per watt than incandescent bulbs, reducing power costs and making LEDs practical for battery-powered devices and on-location equipment, such as camera-mounted lights
- Can emit light across a range of color temperatures without the need for colored gels
- Unlike incandescent and fluorescent sources, which often require an external reflector to collect and direct light, many LED fixtures are designed to focus and direct light on their own
- When dimmed, LEDs do not shift color as voltage is reduced
- Being solid-state, they are difficult to damage, unlike fluorescent and incandescent bulbs, which break easily, especially when dropped
- Long service life, from 35,000 to 100,000 hours, well beyond fluorescent tubes and far beyond incandescent bulbs
- Unlike some lamp types, they reach full brightness and stabilize almost instantly
- Generate far less heat than many other lighting tools, reducing studio cooling costs
- On some fixtures, color temperature can be adjusted easily to match indoor or outdoor requirements
- Lighter than many other fixture types, making transport and rigging easier
LED Disadvantages
These advantages matter, particularly for reducing energy consumption, but LED fixtures do come with some drawbacks, most of which can be managed or offset.
- Currently more expensive upfront than more conventional lighting technologies, though the initial cost is often recovered over time through lower energy and lamp replacement costs
- Performance and lifespan depend on operating temperature; high ambient heat or heat buildup (if not managed) reduces both
- Require stable voltage and current, which may call for regulated power supplies
- Some white LED fixtures show a dip or gap in the color spectrum that cannot be corrected through white balance, though this is less pronounced than with fluorescent sources
- As with most lamp types, LED output gradually decreases with age
Lighting Techniques and Ratios
Lighting a subject generally serves three main purposes:
- Correctly illuminating the subject with a key light
- Filling in the shadows created by that key source
- Separating the subject from the background
The key light is the most prominent source in a lighting setup and often creates hard shadows. Fill light compensates for those hard shadows by lighting the darker areas. The third main lighting source is the backlight, whose main function is to separate the subject from the background, helping create the illusion of depth and three-dimensionality on a two-dimensional television screen. In a standard lighting setup, the backlight, like the key and fill lights, is positioned above and directly behind the subject. Backlights are sometimes positioned opposite the key light.
The cross-fire between key light and fill light, combined with a backlight positioned directly above and behind the subject, forms the basic lighting triangle followed by most professionals starting out. The standard lighting ratio between key, backlight, and fill is 1:1:1/2. In theory, if the key light measures 500 foot-candles, the backlight should also measure around 500 foot-candles, with the fill light set lower, at around 250 foot-candles. In many cases, this ratio can be adjusted to suit creative needs. For example, if the background is poorly lit, the backlight intensity might be increased to a ratio of 1:1½:1½, adding roughly 250 foot-candles more to the backlight relative to the key.
Three-point lighting can become limiting when more than one camera angle is needed. In these cases, four-point lighting is often used instead. Beyond supporting a wider range of camera angles, four-point lighting is also easier to set up. The lighting ratio in a four-point setup is 1:1 across all lights, meaning all four sources illuminate at equal intensity.
Fixtures for TV Studio Lighting
Choosing the right equipment and accessories is essential to any television production. Fixtures generally fall into two broad categories: spotlights and fill lights, also known as floods.
Spotlights
Spotlights come in three main types, the most common and flexible being the Fresnel, named for the fixture's circular, concentric lens, which produces a soft-edged beam of light. Inside a Fresnel fixture, the lamp and reflector position are adjusted using a screw-and-crank mechanism, allowing the beam to be widened or narrowed as needed.
Fresnel-lens TV fixtures can produce colored light as well as warm or cool white output, depending on requirements and LED output capacity.
The second type of lensed spotlight is the ellipsoidal (often called a profile spot), which produces a tighter, more precisely shaped beam than a pin-focused Fresnel. Its main advantage is the ability to throw a sharply defined, high-intensity beam over a relatively long distance. Ellipsoidal fixtures are common in theatrical and stage productions but see more limited use in television production.
Unlike the relatively bulky Fresnel and ellipsoidal fixtures, PAR fixtures have no lens. This reduces their weight and makes them well suited to field productions with small crews. Like Fresnels, PAR fixtures can serve as either spot or fill sources, though they do not focus as precisely as Fresnel units.
Fill Lights
Ideally, the fill light should sit at roughly 90 degrees from the key light. This means that if you draw a line from the key light to the subject, and then to the fill light, it forms a right angle. While fill lights can technically be positioned anywhere, from right next to the camera to 45 degrees away, positioning at 45 degrees from the camera is generally the safer choice.
Lighting a full 90-degree area builds in an important safety margin, in case subjects move unexpectedly during production and the camera angle needs to change. The fill fixture is typically positioned just above the camera, which places it slightly lower than the key light. In this position, it can effectively perform its main task: partially filling in the shadows created by the key light.
Focusing specifically on studio lighting, as opposed to field and battery-powered setups, fixtures are usually rigged overhead. For this reason, and for the quality of light it produces, the Studio Panel, also known as a flood, is generally the preferred choice for LED fill lighting.
Backlights
The backlight's function is to separate the subject from the background by creating a thin rim of light around the subject, and it should be positioned directly behind the subject relative to the main camera. While backlight elevation is often dictated by the specific setup, a 45-degree angle is generally preferred.
Compared to the key light, a smaller, lower-output fixture can often be used for the backlight, for two reasons. First, backlights are typically positioned closer to the subject than the key light. Second, with subjects confined to a limited area, such as a seated position, the beam on most Fresnel fixtures can easily be "spotted" (narrowed) to intensify the beam.
Depending on the desired result, the placement and type of key and fill lights used, backlights can be created using PAR fixtures, ellipsoidal fixtures, or spotlights fitted with either PC or Fresnel lenses.